AI tools: how to know if one really saves you time
Knowing lots of tools changes nothing if your workflow stays the same. Start from a task you repeat, test one tool on a real project and measure the time up to the final file, correction included. The worksheet is in the article.

MoBenFreelance video creator
Contents
An AI tool saves you time only if the total time up to the final file goes down: generation, correction, formatting and export included. Start from a task you repeat often, test one tool on a real project, measure, then keep it or drop it. The rest of the time, work.
Have you ever spent a whole day looking for tools to save time… and ended the day without doing any work? With AI, it is easy to fall into that trap without noticing.
Why do we collect tools without saving time?
You see a tool and think: I need to learn this. You haven’t finished it, it hasn’t become part of how you work, and another one is already out. You move on to that one.
The result: you know lots of sites and lots of tools, but your workflow stays exactly the same. Discovering a tool and benefiting from it are two different things.
Constantly switching from one task to another also has a cost. The American Psychological Association summarises experiments where every task switch cost time, and more so when the task was complex or unfamiliar. A few tenths of a second each time, which add up when you keep switching back and forth.
How do you calculate the time a tool really saves you?
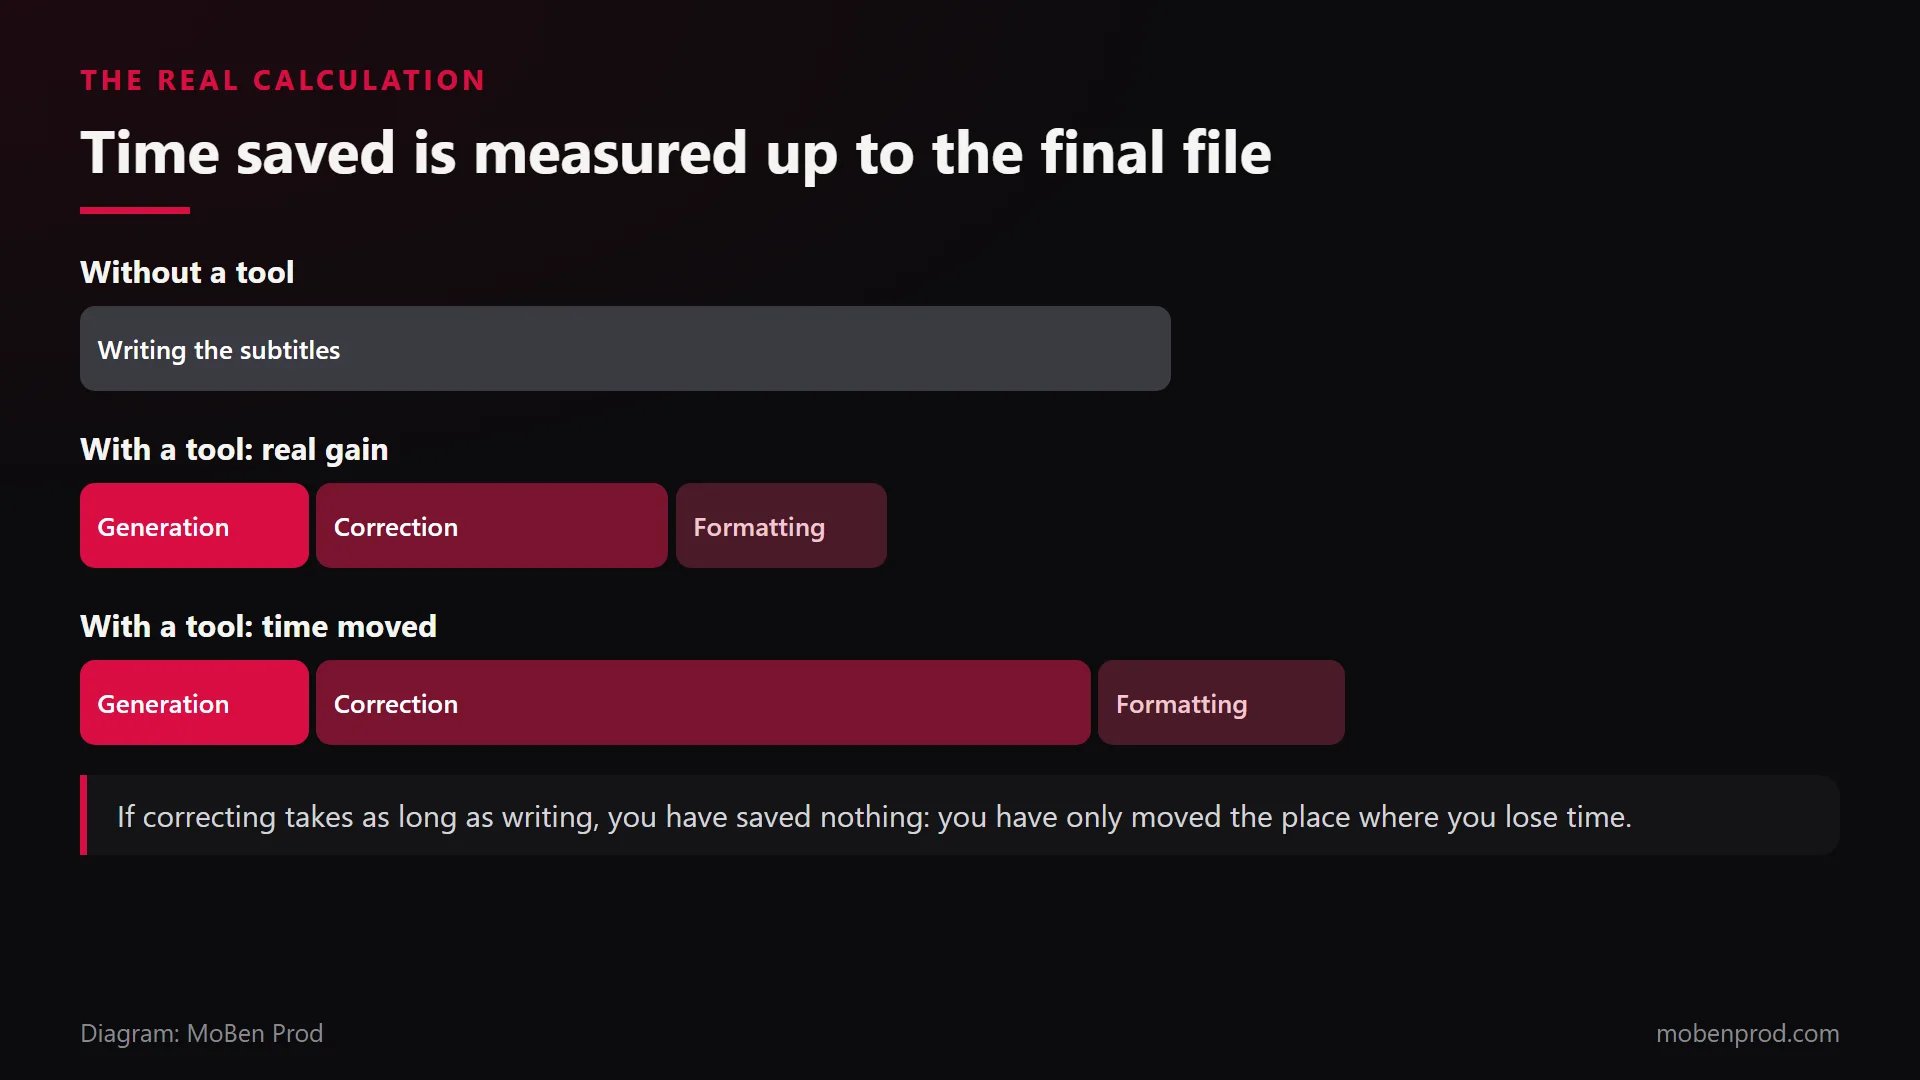
Take a tool that generates subtitles in a few seconds. Don’t count only the generation time. Count the correction of misheard words, the line breaks and timing, the formatting, and everything you do to reach the final result.
If you save time on writing and lose all of it on correction, you have saved nothing: you have only moved the place where you lose it.
The worksheet: where your hours go and what to test
Copy it into a notebook or a spreadsheet and fill it in over a normal work week, not an ideal one. It takes four steps.
Step 1: list the tasks you repeat
Tick the ones that come back in your work, and add your own:
- logging and sorting footage;
- syncing sound and picture;
- transcription and subtitles;
- removing silences and filler words;
- cleaning up sound and voice;
- finding music and sound effects, and fitting them to length;
- reframing to 9:16 and other formats;
- basic grading and matching colours between shots;
- masking subjects and removing backgrounds;
- thumbnails and visuals;
- exports, file naming and delivery;
- revision rounds with the client (see also how to turn vague feedback into clear changes).
Step 2: put numbers on each task
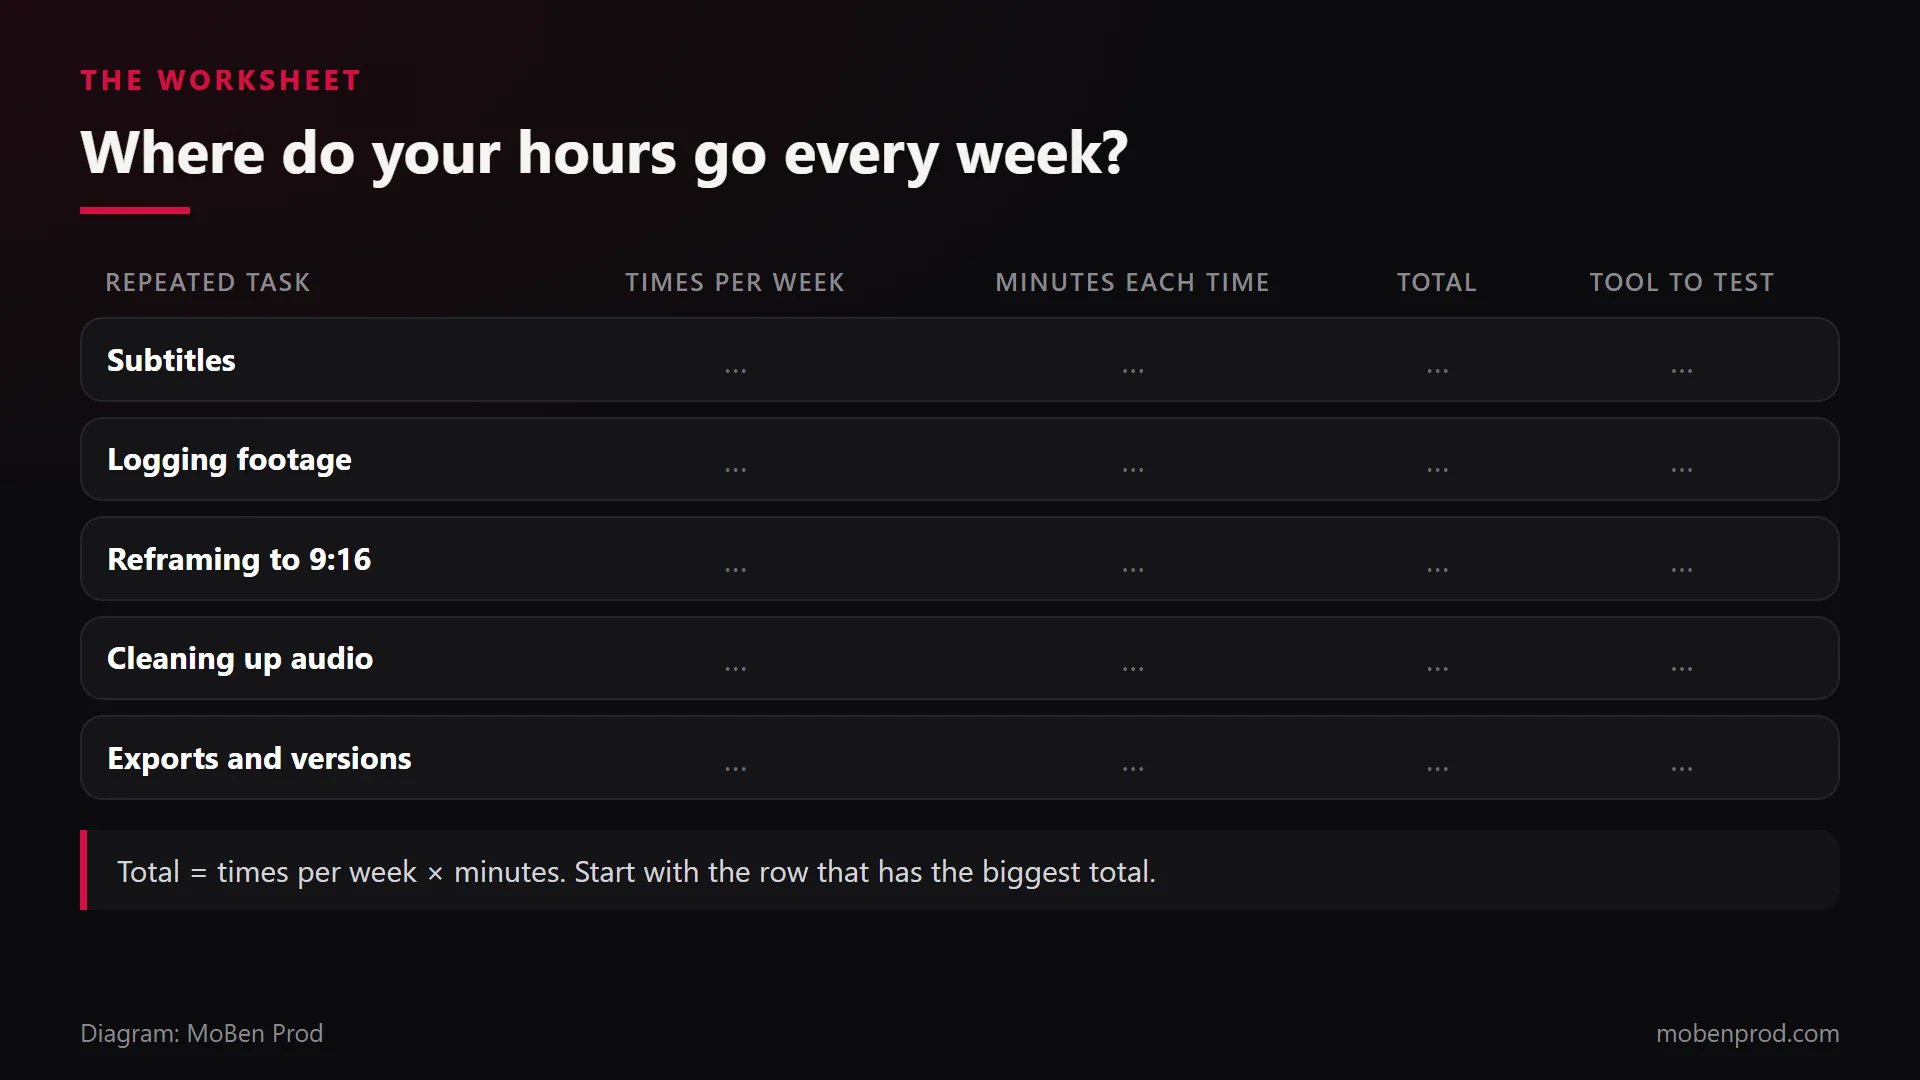
For each row, write how many times it comes back per week and how many minutes it takes each time. Total = times per week × minutes. Then sort the rows from biggest total to smallest: that is where your time goes, not necessarily where you thought.
Step 3: spot what is worth testing
For the top three rows, ask yourself three questions:
- Is it a mechanical task, always the same moves, or a creative decision?
- Is the result easy to check at a glance?
- Is a mistake costly, like a misspelled name in a subtitle sent to the client?
A mechanical task that is easy to check is a good candidate. A creative decision rarely is: it is what stays human in editing.
Step 4: test one tool, and measure
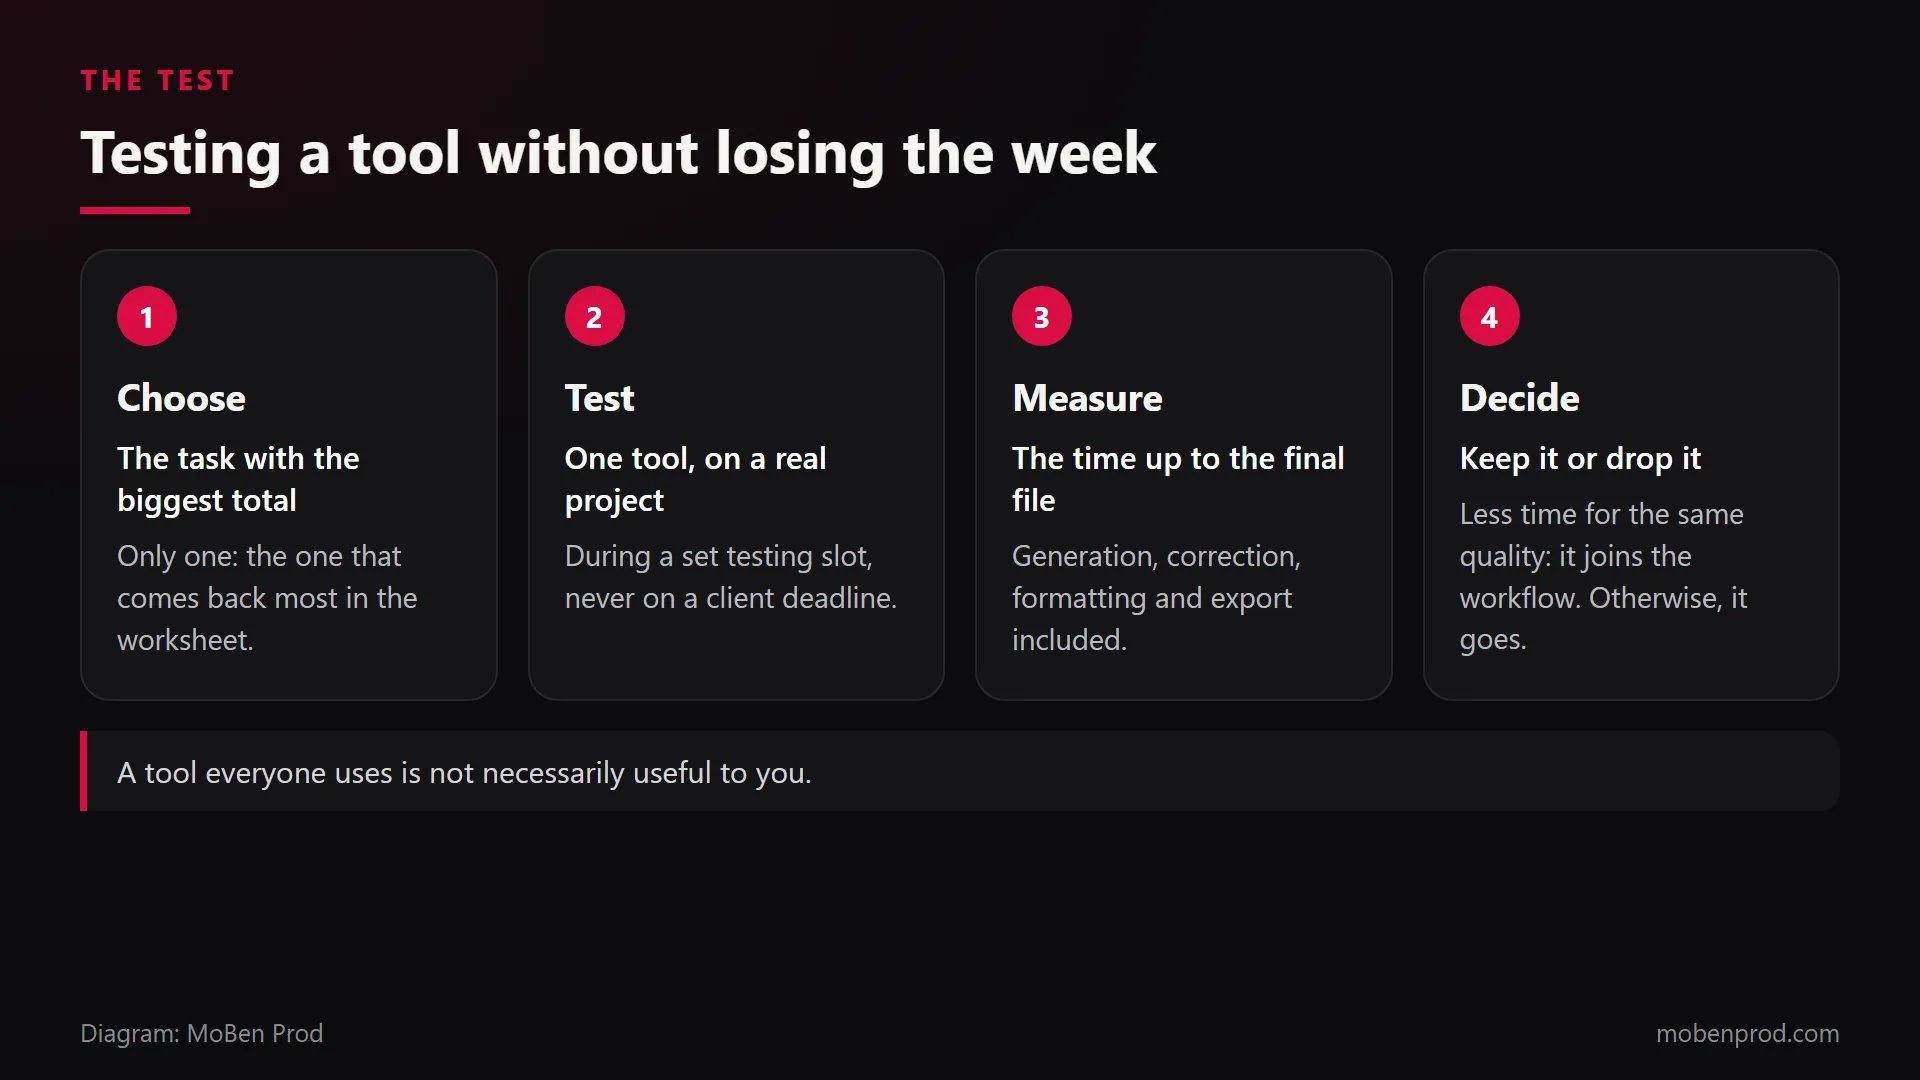
- Pick one task, the top one on the worksheet, and one tool.
- First write down how long it takes you today with your current method.
- Test on a real project, during a set testing slot, never on a client deadline.
- Measure the time up to the final file: generation, correction, formatting and export.
- Compare the quality: same, better or worse?
- Decide: less time for the same quality, it joins your workflow and you write down how you use it. Otherwise, you drop it, even if everyone uses it.
For each test, fill in this sheet:
- Task: … / Tool tested: … / Project used for the test: …
- Time with my current method: … minutes
- Time with the tool: generation … + correction … + formatting … + export … = … minutes
- Time to learn the tool (counted separately): … minutes
- Quality: same / better / worse
- Decision: keep / drop / test again after three real projects
Before adding a tool, look inside your software
Often the feature already exists in the software you open every day, and using it doesn’t make you switch tools mid-project. Here, task by task, is what I checked on the official pages in November 2026. Adobe now calls its app “Adobe Premiere” (formerly Premiere Pro). For DaVinci Resolve, many of these features need the paid Studio version.
Subtitles and transcription
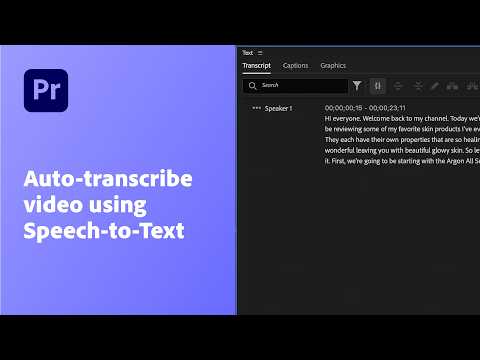
- Premiere, Speech to Text: automatic transcription, then “Create captions”, included in the subscription. Translate Captions creates a translated track.
- DaVinci Resolve Studio: “Create Subtitles from Audio” builds a subtitle track from the voice, and word-by-word animated subtitles since version 20.
- Final Cut Pro: Transcribe to Captions (Mac with Apple silicon, macOS Sequoia or later).
- CapCut (auto captions), Canva (captions with a translation option) and Descript (transcription in dozens of languages).
Editing from the text
- Premiere, Text-Based Editing: you cut the video by cutting the transcript text. Paper Edit (version 26.5) builds a sequence from selected lines.
- Resolve Studio: text-based editing, and IntelliScript, which builds a timeline by matching a script to the transcribed voice.
- Descript: delete or move words as in a text document.
Silences and filler words
- Premiere: in the transcript, a filter finds pauses and filler words, to delete one by one or all at once.
- Resolve Studio, IntelliCut: silence removal with an adjustable threshold and handles.
- CapCut (flags filler words in the captions), Descript (filler word removal, English transcripts according to its help page) and AutoPod (Premiere plug-in that cuts silences based on a decibel threshold).
Cleaning up the voice
- Premiere, Enhance Speech in the Essential Sound panel, and its web version Adobe Podcast Enhance.
- Resolve Studio (voice isolation, dialogue separator) and Final Cut Pro (Voice Isolation, with an amount slider).
- CapCut (voice enhancement), Canva (Enhance Voice, counted against your monthly AI allowance) and ElevenLabs Voice Isolator (files up to 500 MB and 1 hour).
Reframing to 9:16
- Premiere, Auto Reframe (duplicates the sequence at the new ratio), Smart Reframe in Resolve Studio, Smart Conform in Final Cut Pro, and CapCut Auto reframe.
Finding the cuts in an exported video
- Premiere, Scene Edit Detection; scene cut detection in Resolve Studio; Edit Detection in Final Cut Pro 12.3.
Fitting music to length
- Premiere, Remix (shortens or lengthens a track while keeping its start and end), AI Music Editor in Resolve Studio, and Canva Beat Sync (snaps cuts to the beat).
Finding a shot in your footage
- Premiere, media intelligence (search by what is seen and said; visual search works in English), Resolve 21, IntelliSearch, and Visual Search and Transcript Search in Final Cut Pro 12.
Masking a subject or removing a background
- Premiere, Object Mask (one-click selection and tracking), Magic Mask in Resolve Studio, Magnetic Mask in Final Cut Pro, Remove BG in CapCut, and Photoshop, Remove Background for images. Canva’s background remover is for paid plans.
Colour, extending and upscaling
- Colour matching: Auto Color and Color Match in Premiere, Shot Match in Resolve, Match Color in Final Cut Pro 12.3.
- Extending a shot: Generative Extend in Premiere (internet connection needed, it extends neither dialogue nor music). For an image: Generative Fill and Generative Expand in Photoshop, Magic Expand in Canva.
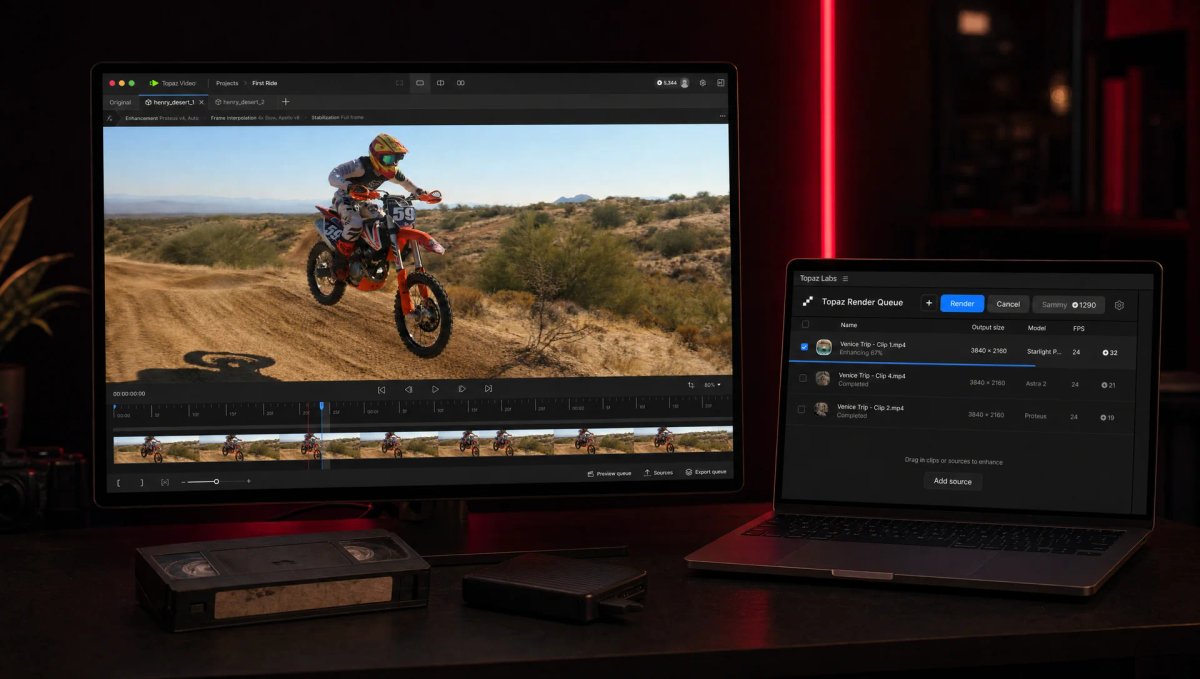
- Upscaling: Super Scale in Resolve Studio, Generative Upscale in Photoshop, Topaz Video. I covered the limits in upscaling a video is not enough.
- Dubbing: ElevenLabs Dubbing (90+ languages, version 2 labelled alpha) and Descript translation. I found no built-in dubbing in Premiere or Final Cut Pro.
A concrete example with the most common task, subtitles, shown by Adobe:
Progress is what changed in your work
It is not the number of tools you know. Tools should work for you, not make you work to keep up with them. If you still want ideas, I presented 15 tools for editing and graphic design: run them through the worksheet before opening one.
Frequently asked questions
How much time should you spend testing new tools?
Set a regular, limited slot, for example one hour a week, and stick to it. Outside that slot, work with what you already master, especially when a client is waiting.
Should you test a tool because everyone uses it?
No. Test it if it answers a row at the top of your worksheet. If it doesn’t help you, don’t use it, even if everyone talks about it.
What if the tool is slow the first time?
That is normal: learning time is counted separately. Measure again after two or three real projects before deciding. If it still isn’t faster, drop it.
Is a free tool always a good deal?
Not necessarily. Its real cost is your time: a free tool that needs a long correction every time can cost you more than the feature already included in your software.
And if you are a brand that wants an edit delivered on time, without depending on the tool of the moment, here is how I handle editing and post-production. Tell me about your project.
Go further