Reels, TikTok and Shorts safe zones: where to put text and captions
The safe zone is the part of a 9:16 video that the Reels, TikTok and Shorts interface doesn’t cover. Here are each platform’s official dimensions, where to put text, captions, logos and CTAs, how to use an overlay in your editing software, and a checklist to run before you export.

MoBenFreelance video creator
Contents
- What is the safe zone in a vertical video?
- Why the interface hides part of your video
- Reels, TikTok and Shorts safe zone: the official dimensions
- Organic posts: the simple rule to remember
- The mistakes that make your message disappear
- Safe zones and framing: plan them at the shoot
- Where to put captions on a Reel or TikTok
- Readability, retention and conversions
- How to use a safe zone overlay in your editing software
- Checklist before you export your Reel, TikTok or Short
- Download the free 9:16 safe zone overlay
- Key takeaways
- FAQ
The safe zone is the part of a vertical video that the Instagram Reels, TikTok or YouTube Shorts interface doesn’t cover. On a 1080 x 1920 px frame, keep your text, captions, logo and CTA away from the top of the screen, the bottom third and the column of buttons on the right.
This guide gives you the official dimensions published by Meta, TikTok and Google, what is only a rule of thumb, the mistakes that make a message disappear, how to set up an overlay in Premiere Pro, DaVinci Resolve, CapCut or After Effects, a pre-export checklist and a free PNG template.
What is the safe zone in a vertical video?
A Reel, a TikTok or a Short is never shown on its own: the account name, description, sound title, like, comment and share buttons, progress bar and, on an ad, a call-to-action button all sit on top of the picture. The safe zone is the area that stays clear. Everything that carries your message belongs there:
- titles and hook text
- captions
- logo and brand name
- CTA, price and offer
- important icons and graphic elements
- the face or main product
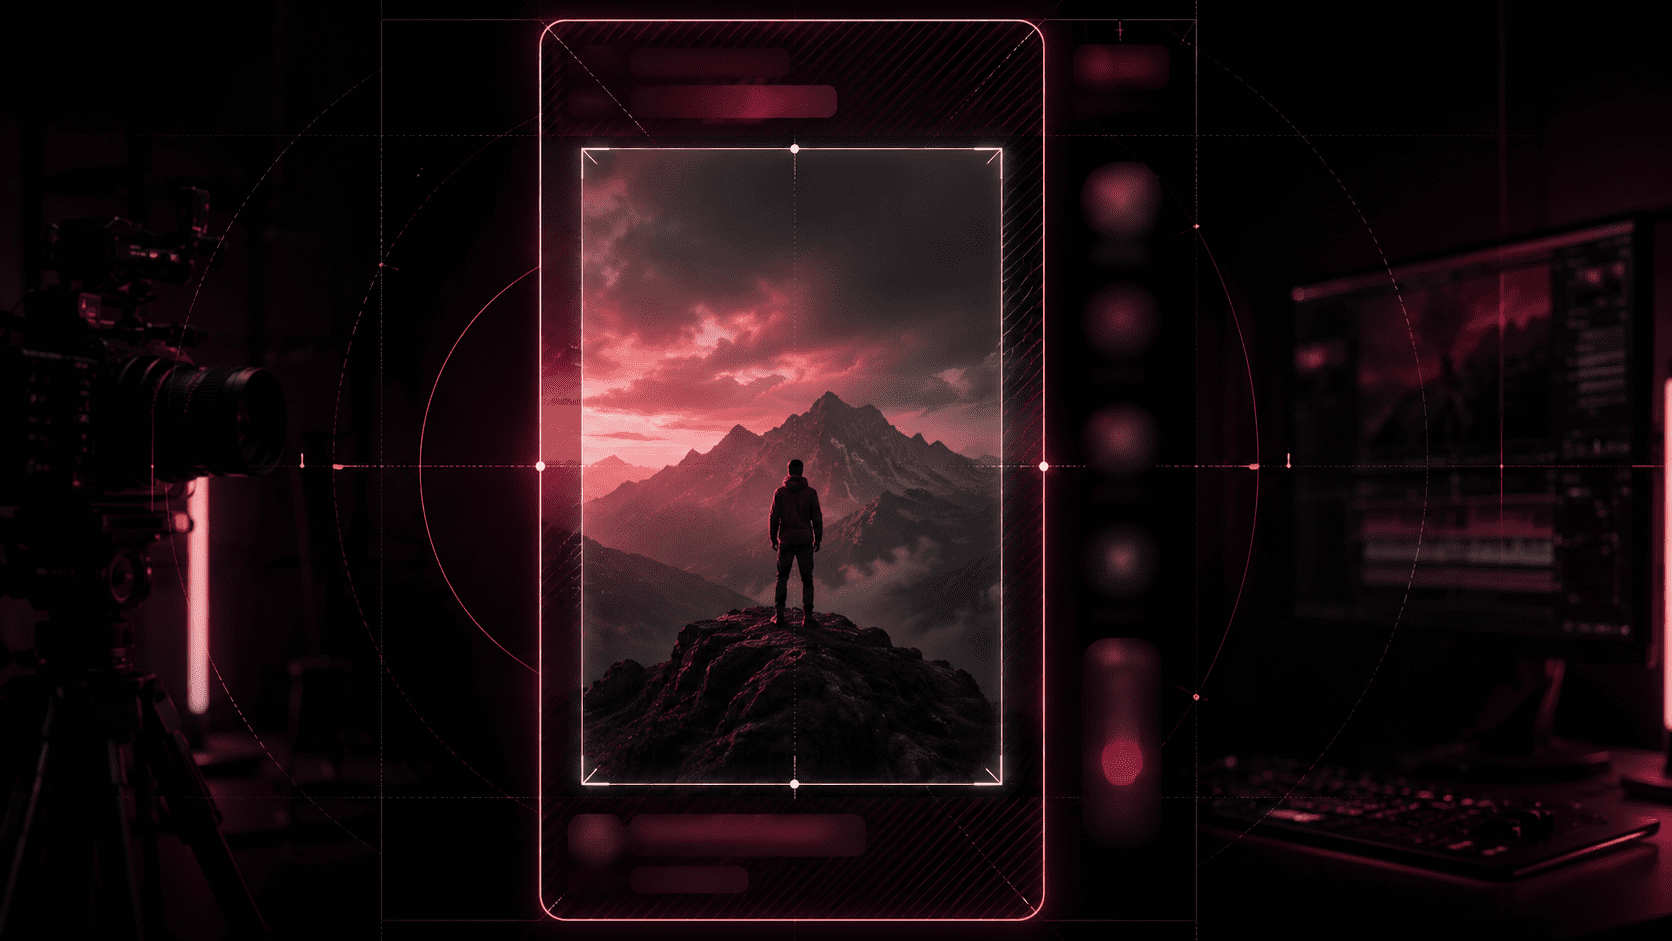
Put simply: whatever the viewer absolutely needs to see stays in the central area. The background can run all the way to the edges.
Why the interface hides part of your video
Vertical video is usually edited at 1080 x 1920 px (9:16), the format shared by Reels, TikTok, Shorts and Stories. But not all of that space is available for your text:
- top: the tab title and app icons (plus the account name in Stories)
- bottom: username, description, sound title and, on an ad, the action button
- right: the column of like, comment, share and save buttons
Two more factors change the visible area. On TikTok, the longer the caption, the smaller the safe zone. And on screens taller than 9:16, Meta says the video may be zoomed to fill the screen, which crops anything outside the safe zone, or shown with black bars.
The result: a video can be well edited and still lose its impact because the main message is hidden.
Reels, TikTok and Shorts safe zone: the official dimensions
The platforms publish these values for their 9:16 ads. They are converted here to a 1080 x 1920 px frame and were checked in October 2026. Organic videos carry the same kind of interface, so these are the best references available, whether your video is sponsored or not.
Instagram and Facebook Reels (Meta)
The diagram in Meta’s help page on the safe zone for Stories and Reels ads asks you to keep about 14% clear at the top (≈ 270 px), 35% at the bottom (≈ 670 px) and 6% on each side (≈ 65 px). Along the right edge, in a strip about 21% of the width (≈ 225 px) where the buttons sit, the bottom margin grows to 40% (≈ 770 px).
The same guidance applies to Stories and to 9:16 videos in the Instagram feed. If your Reels ad includes disclaimers, Meta asks you to keep the bottom 40% completely clear. In Meta Ads Manager, the Safe zone guardrail toggle shows the safe area as a yellow overlay on your creative.
TikTok
TikTok doesn’t give a single pixel value. According to TikTok’s In-Feed ad specifications, the size of the safe zone depends on the dimension (vertical, horizontal or square), the caption length and any additional formats such as anchors: the longer the caption, the smaller the zone. Text and logos placed outside it may be covered or cropped.
TikTok provides downloadable safe zone templates, with a separate version for the Arabic region (right-to-left), and recommends checking the result in its preview tool. Still leave a margin: the preview isn’t specific to any device, so the live display can differ slightly.
YouTube Shorts
For vertical video, Google publishes a safe zone template on its help page about square and vertical video, which applies to ads that can appear in Shorts. On a 1080 x 1920 px frame it reserves 288 px at the top, 672 px at the bottom, 48 px on the left and 192 px on the right, leaving a safe area of about 840 x 960 px. The right margin, wider than Meta’s, makes room for the button column.
One zone that works for Meta and YouTube
If you post the same video everywhere, combine the two templates: a rectangle running from about 65 to 850 px horizontally and from 290 to 1250 px vertically (≈ 785 x 960 px) meets both. That’s a calculation based on the official figures, not a published standard. For TikTok, check it against its template or the preview, since the zone changes with the caption.
Organic posts: the simple rule to remember
For a Reel, TikTok or Short that isn’t sponsored, there is no fixed frame: the height of the interface changes with the length of your caption and with the phone.
A practical reference point (a rule of thumb, not a platform spec): keep titles, captions, logo and CTA inside a central block of about 810 x 1080 px, which means roughly 135 px of margin on each side, and nudge that block slightly upward rather than centering it exactly.
This rule protects the sides well, but it’s looser at the bottom than the official templates, which leave only about 960 to 980 px of usable height. For an ad, or whenever you’re unsure, the templates win: lift everything that matters above roughly 1250 px, or 65% of the height.
Either way, never place important text:
- right at the top of the screen
- right at the bottom
- in the right-hand strip where the buttons stack up
- less than about 65 px from an edge
- over the face of the person speaking
The mistakes that make your message disappear
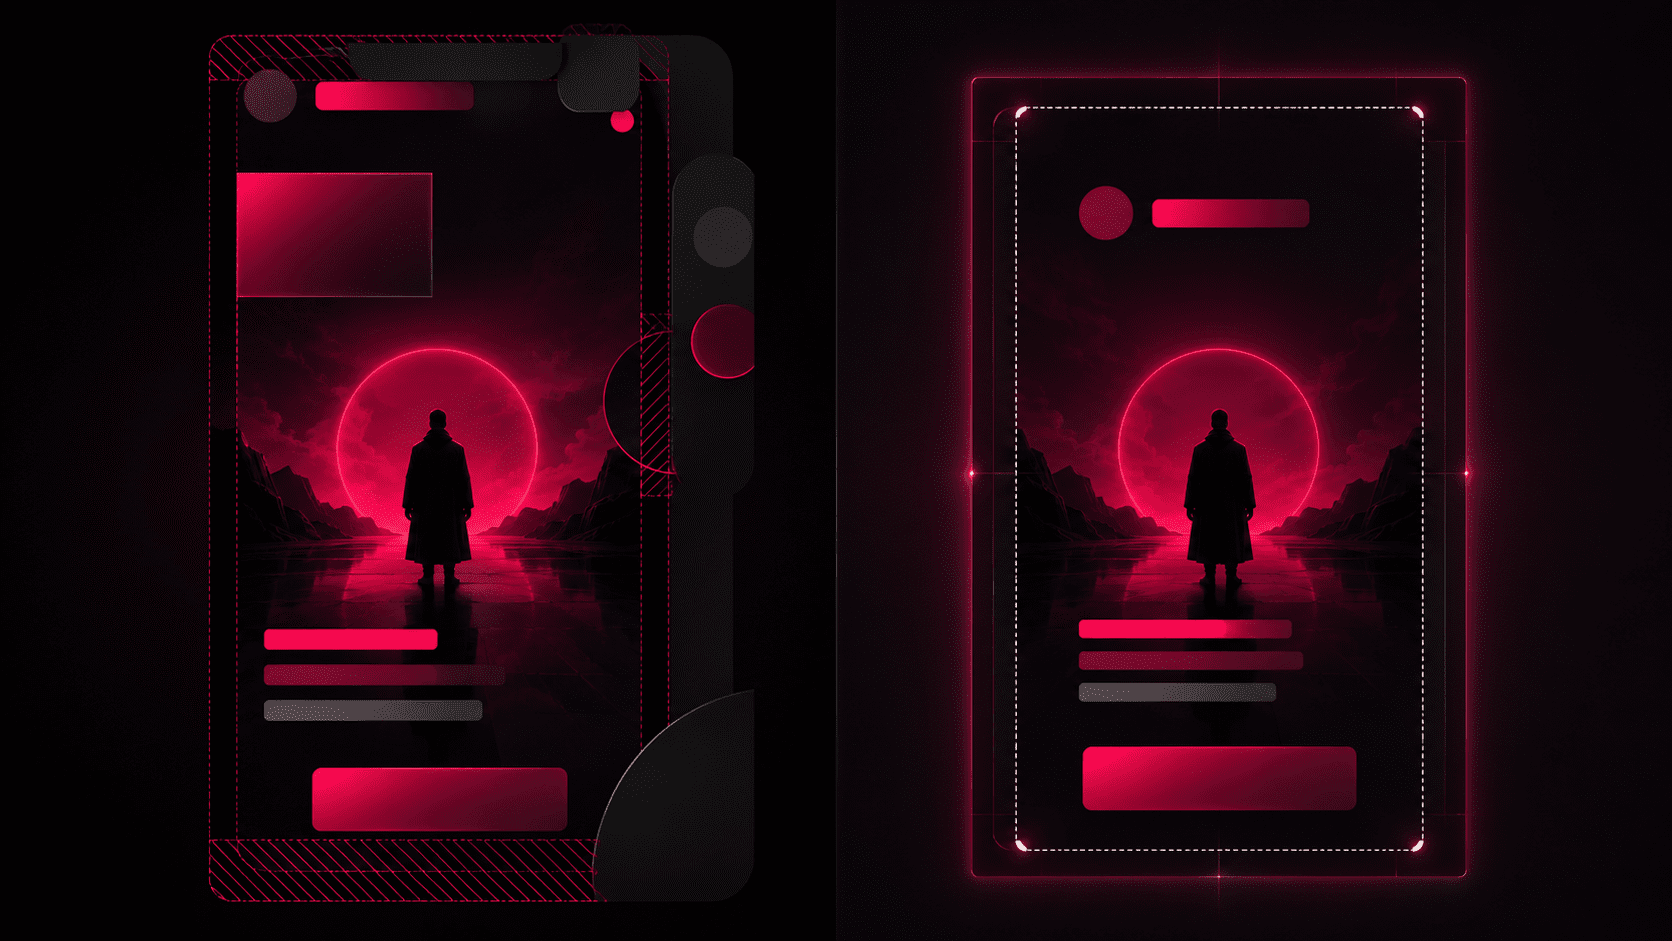
1. Placing captions too low
This is the most common mistake: putting captions at the bottom of the screen, as you would on a horizontal YouTube video. On Reels or TikTok, that area is covered by the description, the account name and the sound title. Fix: lift them above the bottom third of the frame, toward the lower center.
2. Putting the logo in a corner
In vertical formats, corners are rarely safe: the logo gets hidden by the interface or looks tiny. Fix: place it in a visible area with a real margin, or show it briefly at the start or end of the video.
3. Pushing the CTA against the bottom edge
A CTA such as “Book your session”, “Get the guide” or “Link in bio” disappears behind the buttons and the description if it sits at the very bottom. Fix: put it in the center, just above the description area.
4. Forgetting the right side
On TikTok, Reels and Shorts, the button column takes up the right edge, especially in the lower half of the screen. Text placed there gets covered or crowded. Fix: align important information in the center or slightly to the left.
5. Framing the face too high
When the face touches the top of the frame, the app icons crowd it and the shot looks badly composed. Fix: frame the face slightly above center, never pressed against the top edge.
6. Writing a very long caption
On TikTok, a long caption shrinks the safe zone: the text climbs up over the picture and covers whatever sits at the bottom. Fix: keep the caption short when your video has text in its lower part, or move that text up.
Safe zones and framing: plan them at the shoot
The safe zone isn’t only about text: it also guides your video framing. When you film vertically, picture where the captions, logo, title and platform buttons will go. It’s the same reflex as shooting with the edit in mind: leave room for what comes later. For a talking-head video:
- place the face in the central part of the frame
- don’t put the eyes too high in the frame
- leave space below the face for captions
- keep gestures away from the edges
- keep the background clean behind text areas
- don’t shift the subject to the right
For a product video:
- keep the product in the center
- avoid putting the price at the bottom
- avoid text on the sides
- leave space around the product
- test how it looks with the platform’s interface
Shooting horizontal 4K even gives you enough pixels to extract a 1080 x 1920 px vertical frame and reposition it in the edit, for example to lift a face or clear space for text.
Where to put captions on a Reel or TikTok
Captions should be visible, readable and well spaced. To place them:
- aim for the lower center, above roughly 1250 px (65% of the height)
- use a size that’s readable on a phone
- keep it to 1 or 2 lines
- avoid long blocks of text
- keep enough contrast (outline, shadow or background box)
- don’t cover the mouth or the eyes
- highlight the key words
- test the video on a phone before posting
Word-by-word animated captions are very useful, as long as they don’t get in the way of the picture: too big, too low or too fast, they tire viewers and look amateurish. The same placement applies to the hook text in the first seconds, covered in the guide to visual hooks for Reels and Shorts.
Readability, retention and conversions
A short video has to be understood quickly, often with the sound off. Text that is cut off or hidden loses part of the message, which can lower retention, comprehension and the number of people who take action. Well-placed text also makes the CTA clearer and gives the brand a more polished image, especially in an ad.
Placement isn’t everything: to hold attention, editing rhythm matters just as much. That’s the subject of the guide to video retention and editing rhythm. And if you outsource your short videos, checking the safe zone is part of any professional Reels, TikTok and Shorts editing service.
How to use a safe zone overlay in your editing software
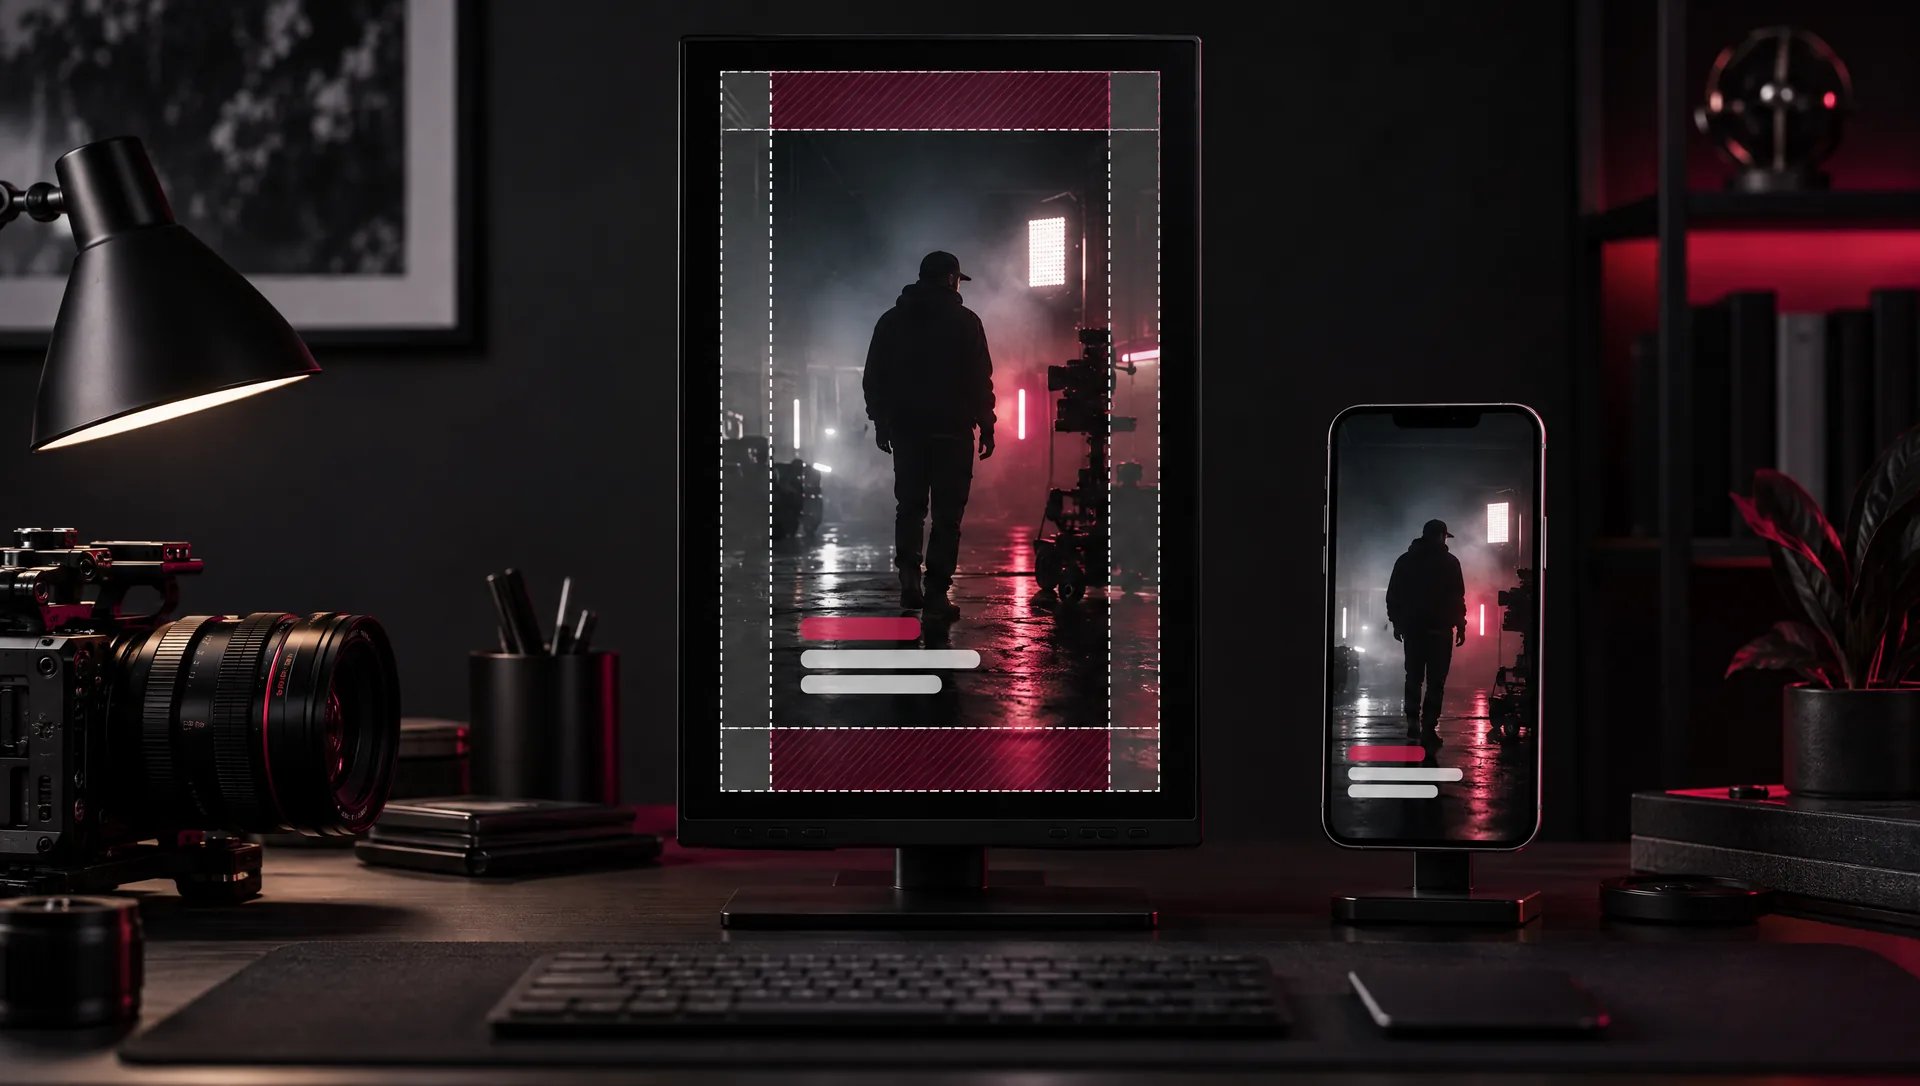
The simplest method is to work with an overlay: a transparent 1080 x 1920 px PNG that colors the risky areas and leaves the safe area transparent. You place it above your video while you edit, then remove it before you export.

Adobe Premiere Pro
- Create a 1080 x 1920 px sequence.
- Import the PNG (File > Import) and drop it on the highest video track.
- Stretch the clip across the full length of the edit.
- Lock the track with the padlock icon so it can’t move.
- Before exporting, hide the track with the eye icon (Toggle Track Output) or delete the clip.
DaVinci Resolve
- Set the timeline to 1080 x 1920 px (vertical resolution).
- Import the PNG into the Media Pool and place it on the highest video track.
- Stretch it across the full length and lock the track (padlock).
- Before rendering on the Deliver page, disable the video track (the monitor icon in the track header) or delete the clip.
CapCut
Import the PNG, add it as an overlay above your video and stretch it across the full length. Place your text and captions in the transparent part, then delete the layer (or hide its track in the desktop app) before you export.
After Effects
Put the PNG at the top of the layer stack in a 1080 x 1920 px composition, then turn it into a guide layer (Layer > Guide Layer). Adobe’s documentation on managing layers confirms that guide layers are excluded from final output, so the overlay stays visible in the composition without showing up in the exported file.
The same principle works in Final Cut Pro or Canva: the overlay is only a visual guide. Important: it must never appear in the exported video.
Checklist before you export your Reel, TikTok or Short
Before posting, check these points:
- Are the title and hook inside the safe area?
- Are the captions high enough, above the description?
- Is the logo visible without touching an edge?
- Is the CTA clear of the buttons and the description?
- Is the right-hand strip free of important text?
- Is the face or main product well framed?
- Does the video still make sense without sound?
- Is the text still readable on a small screen?
- Did you check the platform preview or test the video on a phone?
- Did you remove the overlay before exporting?
Download the free 9:16 safe zone overlay
To stop placing your text, logos, captions or CTAs outside the visible area, download this Safe Zone 9:16 template and import it straight into your editing software.
File included: transparent PNG overlay, 1080 x 1920 px. Works with: Adobe Premiere Pro, DaVinci Resolve, Final Cut Pro, CapCut, After Effects, Canva and any software that accepts transparent PNGs.
The template masks in pink the top of the frame (about 220 px), the button column on the right in the lower half and the description area at the bottom; the transparent part is your working area. It’s designed for organic posts: for an ad, also check against the platform’s official template, which is stricter at the bottom.
Download the 9:16 safe zone overlay (PNG, 1080 x 1920 px)
More free packs and tools for editors are collected on the free video editing resources page.
To go further: the guide to captions for Reels, TikTok and Shorts covers styles, SRT files and Arabic captions, and the guide to Reels, TikTok and Shorts video size and length gathers the dimensions and export settings to check before you publish.
Key takeaways
- The safe zone is the part of a 9:16 video the interface doesn’t cover: text, logo, CTA and main subject belong there.
- Meta (Reels and Stories ads): about 14% clear at the top, 35% at the bottom, 6% on the sides and 40% at the bottom in the right-hand button strip.
- Google (vertical ads, Shorts included): 288 px at the top, 672 px at the bottom, 48 px on the left and 192 px on the right at 1080 x 1920.
- TikTok sets no fixed figure: the zone depends on the caption and added formats, which is why its templates and preview tool matter.
- The 810 x 1080 px block is a rule of thumb for organic posts, not a standard: for an ad, follow the official template.
- Always remove the overlay before exporting and test the video on a phone.
FAQ
What size is the Instagram Reels safe zone?
Meta doesn’t publish a pixel size but margins, for Reels and Stories ads: keep about 14% clear at the top, 35% at the bottom and 6% on each side, and 40% at the bottom in the right-hand button strip. On a 1080 x 1920 px frame, that leaves a usable area of about 950 x 980 px, between roughly 270 and 1250 px from the top.
What is the TikTok safe zone in pixels?
TikTok doesn’t set a single value: the zone depends on the dimension, the caption length and added elements such as anchors. The platform provides downloadable templates in its ads help center, including a version for the Arabic region, plus a preview tool. In practice, keep your text above the caption and away from the button column on the right.
Is the YouTube Shorts safe zone the same as for Reels?
Close, but not quite. Google’s template for vertical ads reserves 288 px at the top, 672 px at the bottom, 48 px on the left and 192 px on the right on a 1080 x 1920 px frame. The bottom margin matches Meta’s (about 35%), but the right one is much wider: keep important text out of the last 200 or so pixels on the right.
Where should captions go on a Reel or TikTok?
In the lower center, but above the description area: on a 1080 x 1920 px frame, keep the bottom of your captions above roughly 1250 px, or two thirds of the height. Limit them to one or two lines with good contrast, don’t cover the mouth or eyes, and check the result on a phone before posting.
Should you remove the safe zone overlay before exporting?
Yes, always. The overlay is an editing guide, not part of the video. In Premiere Pro or DaVinci Resolve, hide or disable its track before exporting; in CapCut, delete the layer; in After Effects, make it a guide layer, which is left out of the final render. Then watch the exported file all the way through to make sure.
Go further