Invisible editing: 6 continuity techniques for seamless video
Invisible editing, also called continuity editing, hides the cuts so viewers stay inside the story. The 180- and 30-degree rules, cutting on action, eyeline matches, J-cuts and L-cuts: here’s how to apply them, the mistakes to avoid and a checklist to review your own edit.

MoBenFreelance video creator

Contents
Invisible editing means cutting between shots without the viewer feeling the cut: the space stays readable, movements carry over from one shot to the next and the sound smooths the transitions. The viewer follows the story, not the edit. Here are the six techniques that make it work, the mistakes that give a cut away and a step-by-step method to check your own edit.
People often talk about flashy transitions, effects and animated captions. Yet in film, advertising, corporate video and brand content, the best edit is often the one nobody notices. Invisible doesn’t mean basic: every cut sits in the right place, at the right moment, for the right reason.
What is invisible editing?
In practice, invisible editing is another name for continuity editing: an editing system that keeps time and space consistent from one shot to the next. StudioBinder’s guide to continuity editing groups the eyeline match, the 180-degree rule, the 30-degree rule and matching action under this approach.
The goal is simple: viewers should understand where they are, follow the action and feel the emotion without ever wondering why the shot changed. A good cut answers a question they were already asking: who’s talking, what are they looking at, what happens next?
Why visible editing makes viewers drop off
A badly placed cut pulls the viewer out of the video, even if they can’t say why. The causes are always the same:
- abrupt cuts in the middle of a sentence, a gesture or a look;
- showy transitions that don’t serve the story;
- angle changes with no logic, or too small to read as a new shot;
- pacing that doesn’t match the emotion;
- sound that cuts off sharply, background ambience included;
- gestures or eyelines that don’t match from one shot to the next.
In a video ad or a brand film, each of these glitches costs credibility. On social media it also costs attention: a confused viewer is a viewer who swipes away. The link between smoothness and attention is covered in the article on editing rhythm and video retention.
6 invisible editing techniques
1. Follow the 180-degree rule
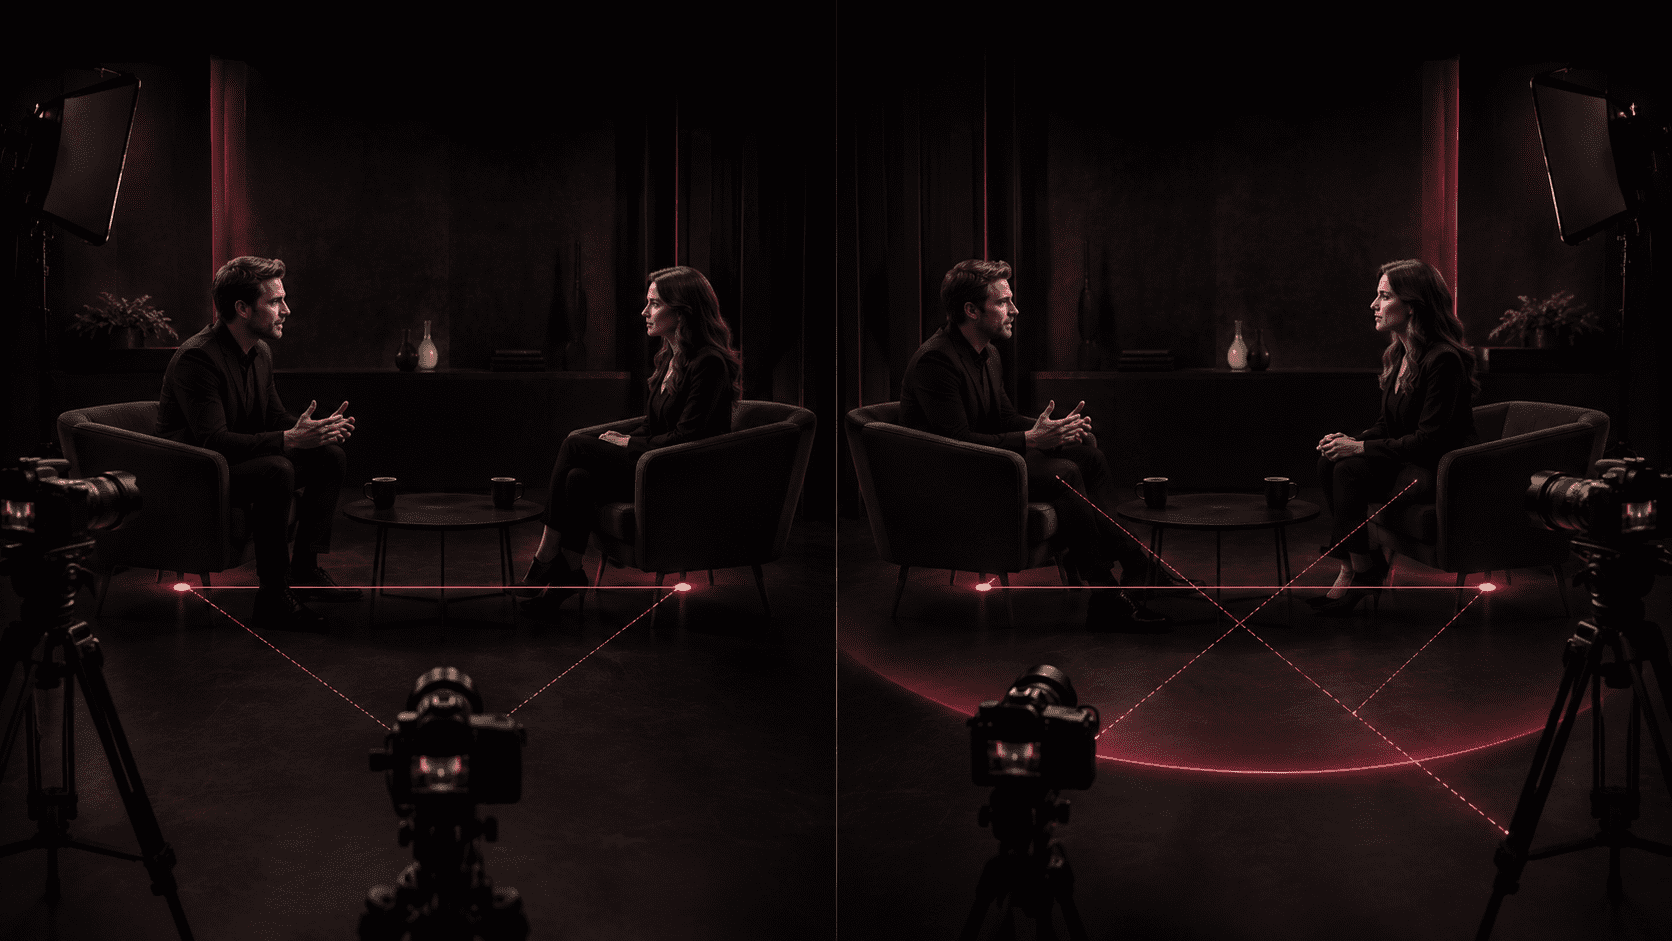
Draw an imaginary line between two people talking (or between a person and what they’re looking at) and keep every camera on the same side of it. Each person then keeps their place in the frame: one stays on the left looking right, the other the opposite. StudioBinder describes the 180-degree rule as a guideline for keeping spatial relationships clear between two characters, or between a character and an object.
It’s the backbone of shot/reverse shot in interviews, video podcasts and corporate scenes. Cross the line by accident and both people suddenly seem to look in the same direction: the viewer loses their bearings. To switch sides cleanly, StudioBinder lists three options: a neutral shot filmed on the line, a camera move that crosses the line on screen, or a cutaway.
2. Change the angle enough: the 30-degree rule
Cutting between two nearly identical shots of the same subject creates a jump: the person seems to move on their own. That’s an accidental jump cut. StudioBinder’s continuity editing guide recommends at least 30 degrees between two shots of the same character to avoid it.
In practice, change the angle or the shot size clearly, for example from a wide shot to a medium close-up. With a single camera, punch in much tighter (no visible loss if you shot in 4K for a 1080p timeline) or drop in a cutaway.
3. Cut on action
A cut becomes almost invisible when it lands during a movement: the action starts in the first shot and finishes in the second. That’s the match on action, which StudioBinder breaks down in its article on match on action cuts. The eye follows the gesture and misses the change of shot. Good moments to cut:
- someone turns their head;
- a hand grabs an object;
- someone stands up or starts walking;
- a door opens;
- a product is set down on a table.
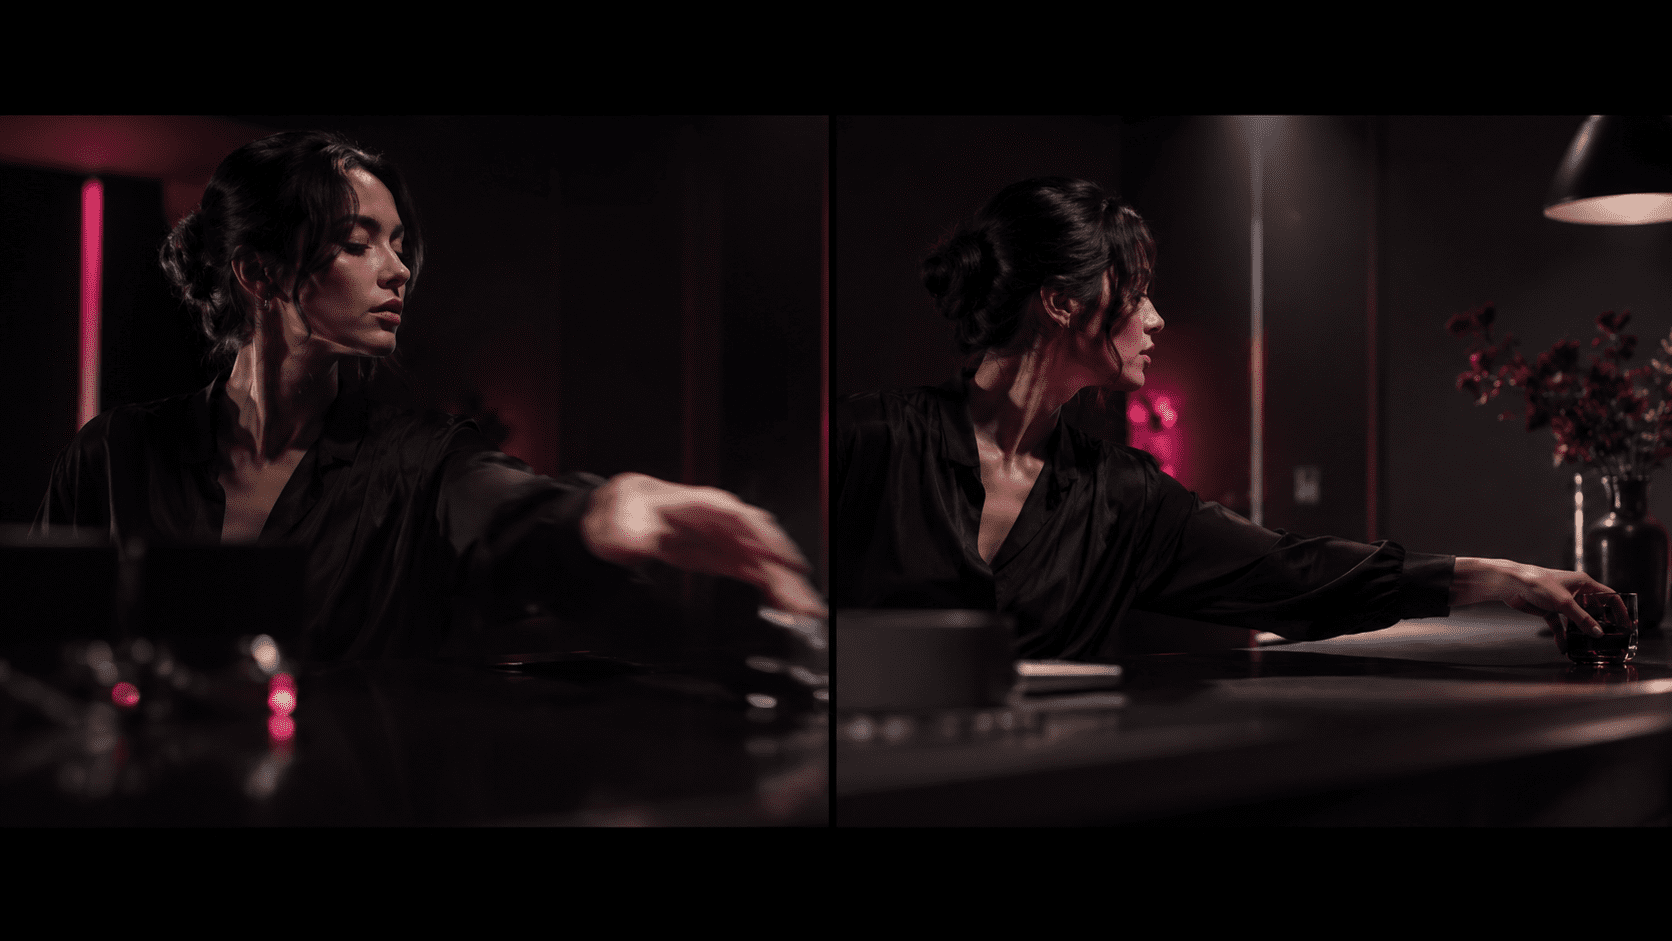
Match the position of the hand, the head and any props on both sides of the cut. If the gesture seems to jump, shift the edit point by a few frames: a slight overlap usually plays better than a gap in the action.
This technique works everywhere: product videos, ads, corporate videos, Reels. It starts on set, by repeating the gesture from several angles: that’s the whole point of shooting for the edit, not just for pretty shots.
4. Use eyeline matches
An eyeline match shows a person looking off-screen, then what they’re looking at: a product, a screen, a place, another person. The cut answers the viewer’s curiosity, so it feels natural. StudioBinder notes that the eyeline match maintains the illusion of continuity and the consistency from shot to shot.
For it to work, the direction of the look has to match where the object sits in the next shot: if she looks right and down, the object should be to her right and lower. Protecting eyelines is also what the 180-degree rule is for.
5. Let the sound carry the cut: J-cuts and L-cuts
In a J-cut, you hear the next shot’s audio before you see its picture. In an L-cut, the previous shot’s audio carries on after the picture has changed. The names come from the shape the tracks make on the timeline. Adobe’s guide to J-cuts and L-cuts presents them as edits built around flow: when the editing is too visible, the story feels staccato.
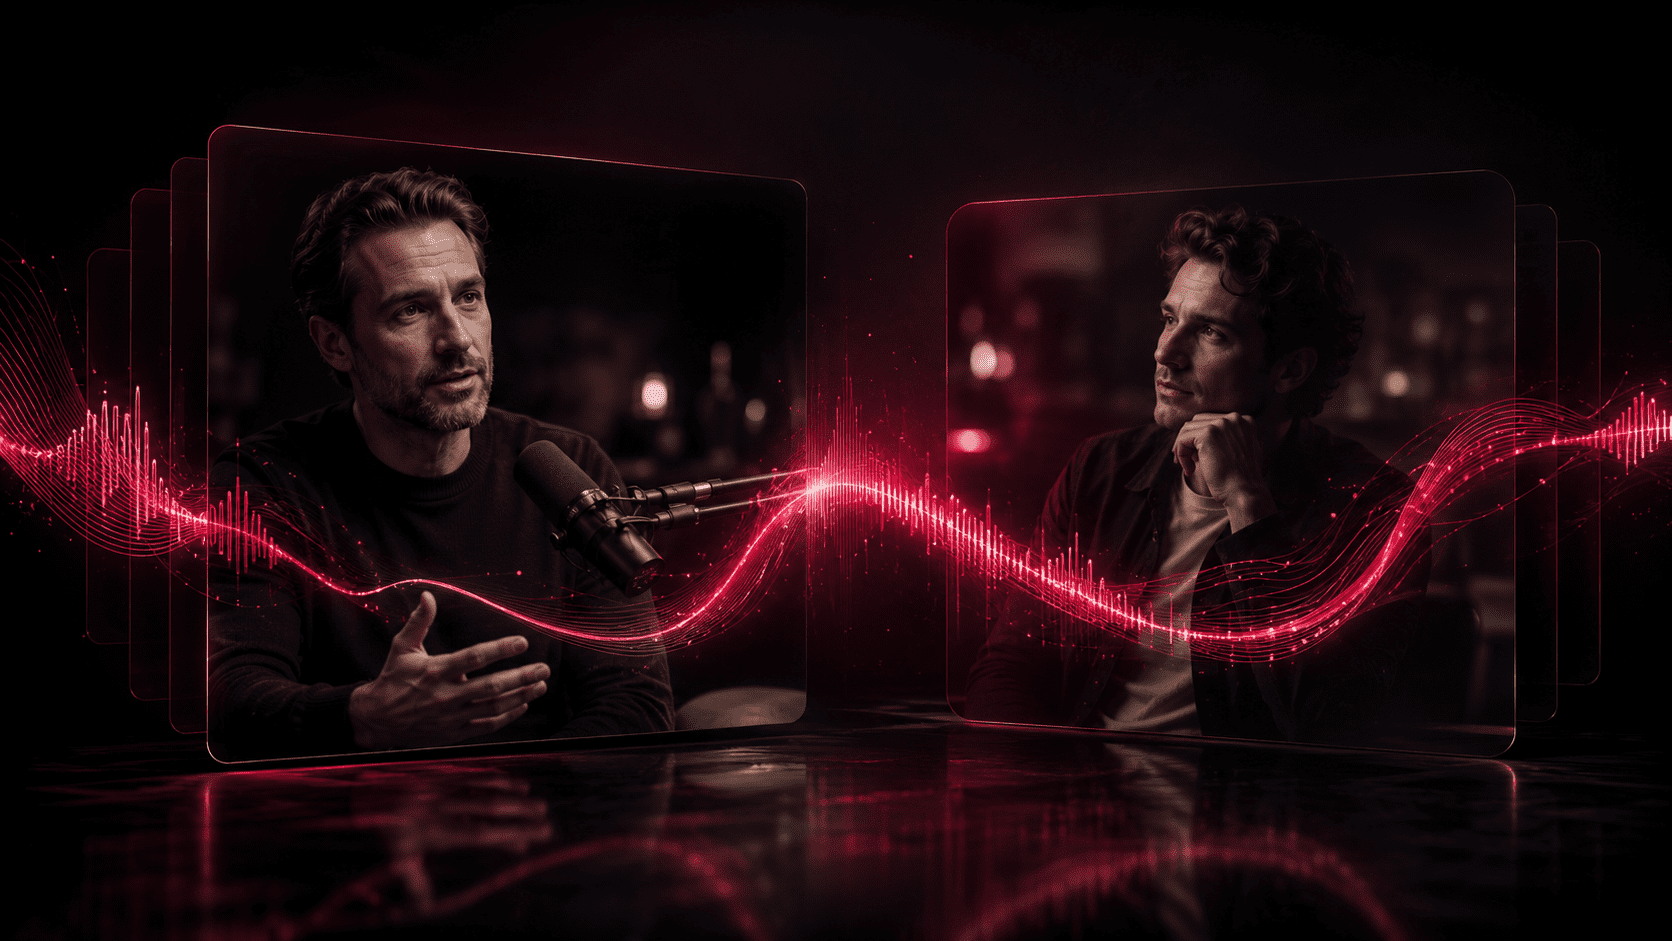
A typical L-cut in an interview: the guest finishes a sentence while you show the host’s reaction. A typical J-cut: you hear the waves before you see the beach. Both work especially well for:
- interviews and video podcasts;
- corporate videos and customer testimonials;
- documentaries;
- scene changes, when the sound announces the next location.
In Premiere Pro, DaVinci Resolve or Final Cut Pro, the principle is the same: you offset the audio edit point from the video edit point, either by temporarily unlinking the two tracks or with a rolling edit. Adobe walks through the steps in Premiere Pro with the Ripple Edit and Rolling Edit tools.
6. Cut to the rhythm of the emotion
A cut can be technically perfect and still land at the wrong moment. After an important line, let the look breathe for a second before you cut: that’s often where the emotion comes through. In a short ad or a Reel, on the other hand, cutting earlier keeps the energy up.
Invisible editing isn’t about hiding the work: it’s about matching every cut to what the viewer feels at that moment.
Match cut, jump cut, cutaway: the terms to know
These terms come up in every editing tutorial and brief. Some serve continuity, others break it on purpose.
- Cutaway: a shot that moves away from the main action (a detail, a reaction, a location) before coming back to it. It’s the simplest way to hide a cut in an interview or fix a continuity error.
- Shot/reverse shot: alternating shots of two people talking, filmed from the same side of the line. It’s the basic structure of any filmed conversation.
- Match cut: a cut that links two shots through a similar shape, movement or composition, like the bone thrown in the air that becomes a spacecraft in 2001: A Space Odyssey. You see the cut, but it feels inevitable.
- Jump cut: a cut between two very similar shots of the same subject, creating a visible jump in time or position. A flaw in continuity editing, a deliberate style in vlogs, Reels and talking-head videos.
- Continuity error: an inconsistency between shots, such as a glass that’s full then empty, a hand that switches sides or a change in lighting. Viewers often spot it before the editor does.
Editing mistakes that give the cut away
Adding transitions everywhere
Transitions don’t make a video more professional. The straight cut remains the basic transition of continuity editing; a cross-dissolve earns its place to show time passing, a change of location or a pause. A transition without a reason gets noticed.
Cutting too early or too late
Cutting before a look, a gesture or a reaction has finished makes a scene feel jumpy or artificial; letting every shot linger makes it drag. Half a second more or less is sometimes all it takes to make a scene believable.
Changing angles for no reason
A change of angle should add something: an emotion, a piece of information, a detail, a reaction. Going from a wide shot to a close-up just to “make it dynamic” makes the edit feel restless.
Neglecting the sound
A picture cut gets away with it if the sound stays smooth; a good picture cut feels harsh if the ambience jumps. Keep continuous background sound under your cuts (the room tone), add short audio fades at edit points and balance levels between shots.
Letting automation make the cuts
Tools that automatically remove silences and filler words save real time, but they create jump cuts by the dozen. Go back over them: cover the jumps with a cutaway, a punch-in or an L-cut. It’s the division of labor described in the article on why AI speeds up video editing without replacing intent.
How to check your edit, step by step
Before you export, run these passes in order. Each one hunts for a specific kind of problem.
- Watch the whole video without stopping and note every moment you “feel” a cut.
- Listen without looking at the screen: every jump in ambience, level or breath is a cut to smooth out.
- Watch it with the sound off: the picture alone should stay readable, gestures and looks included.
- Check the axes: in every exchange, does each person keep their place on the left or the right?
- Check your cuts on action frame by frame.
- Look for accidental jump cuts: two overly similar shots of the same subject back to back.
- Justify every transition: if you can’t say what it’s for, replace it with a straight cut.
- Show the video to someone who hasn’t seen the footage and note where their attention drifts.
If something doesn’t pass, simplify: the goal isn’t to show that you can edit, it’s to give the viewer a seamless experience. And if you’d rather hand this stage over, it’s the core of a video editing and post-production service.
Key takeaways
- Invisible editing (continuity editing) makes the cuts disappear so the viewer stays inside the story.
- The 180-degree rule keeps the space readable; the 30-degree rule prevents jumps between overly similar shots.
- Cutting on action or on a look hides the cut behind what the viewer is already following.
- J-cuts and L-cuts let the sound carry the cut: they’re the key technique for interviews and podcasts.
- Every transition, cut or angle change needs a reason.
- Review your edit in several passes: sound only, picture only, axes, matches, then a fresh pair of eyes.
FAQ
What is the difference between a J-cut and an L-cut?
In a J-cut, the next shot’s audio starts before its picture: you hear the voice or ambience coming, then you see it. In an L-cut, it’s the reverse: the picture changes but the previous shot’s audio keeps going. The first sets up the arrival of a scene; the second extends a sentence or an emotion over another person’s reaction. Both soften the cut.
Is a jump cut an editing mistake?
Not necessarily. In continuity editing, an accidental jump cut is a flaw: the person seems to leap from one position to another. In a vlog, a Reel or a talking-head video, though, it’s often used on purpose to strip out dead air and keep the pace up. It all comes down to intent: a chosen jump cut is used consistently across the video, an accidental one stands out.
Do you always have to follow the 180-degree rule?
No, but break it on purpose. Crossing the line disorients the viewer, which can serve a scene built on tension or unease. In an interview, a corporate video or an ad, that confusion is rarely what you want. To switch sides without throwing the viewer, go through a neutral shot filmed on the line, a camera move visible on screen or a cutaway.
How do you make a single-camera interview look seamless?
Plan cutaways on set: hands, details of the location, B-roll related to what’s being said. In the edit, cover every cut in the speech with one of them or with a much tighter punch-in, and use L-cuts so the voice continues over the illustrative footage. Keep continuous room tone underneath everything: the sound is often what gives a cut away.
Which transitions work best for invisible editing?
Mostly the straight cut: it’s the least noticeable transition when it lands on a movement, a look or a change in sound. Save the cross-dissolve for time jumps or changes of location, and use short audio fades to smooth edit points. Decorative transitions such as zooms, glitches and wipes draw the eye to the cut, so keep them for a deliberate effect.
Go further